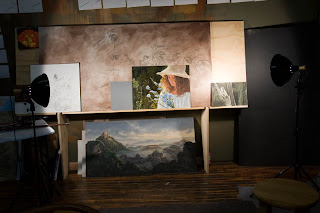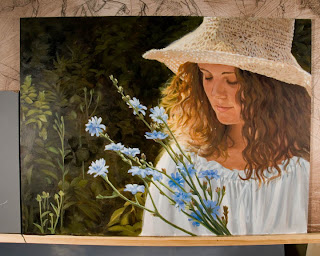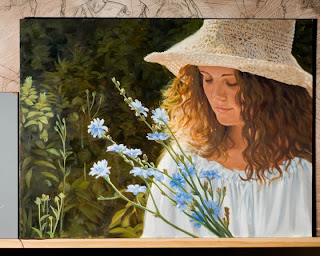
Since the discussion about photographing art at a museum, a couple of you have asked about photographing artwork with less than ideal lights and camera. It just so happens that I am also a professional photographer (a small sampling of my work is here) with a full studio of lights and various do-dads but there is a lot an artist can do to get nice shots of their work without all that.
The worst type of art to try to photograph is textured, glossy and dark. Shooting those types of pieces deserves it's own post. For this post let's assume that you are going to shoot an average piece with limited equipment. Here are the most important things to have:
1. Even lighting (don't just put light on one side of the piece). Outdoor shade lighting (like just inside an open garage or in the shade of a building is ideal) can be a very inexpensive way to light your work.
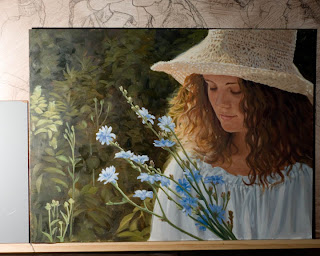
 This is an example of a light just used on one side of the art
2. Unicolor light - it's the easiest to lockdown a color balance with a single color lightsource. So for example, tungsten, shade, fluorescent, etc.
3. Any digital camera with a clean lens. Almost all digital cameras have white balance (WB) presets but it is most preferable to have the option for Custom WB. Check your manual to find out how to access the WB settings.
Also a tripod is very useful but not essential and a Gray Card can be helpful but I will mention more about that below.
The quality in modern point-and-shoot (P&S) cameras is quite remarkable so don't feel bad if that is all you have. I heard Donato Giancola say in a lecture to the Society of Illustrators that he would shoot his paintings for use on book covers with a P&S. The most important thing is learning how to use it properly. Here are some notes on important considerations for photographing your art:
2. An ideal lens for photographing your work is a 50mm lens but since the average P&S has a zoom lens, the safest bet is to get back away from your art and zoom forward. If you are too close, you risk creating a fish-eye effect, curving the lines of your art in a convex arch. So stand back and zoom in. Example of Fish-Eye effect
 Example of Fish-Eye effect
3. Give yourself enough light so that you can keep your ISO fast (like 100) and your shutter speed high (like 1/125 sec or higher). This will help keep your images crisp.
Gray Card Technique:
If you still are having issues with color, try this. Get a 18% gray card from a photo supply store and place it next to the art so that it receives the same light as the art. The photograph the art and make sure to include the card in the picture.
In Photoshop go to Levels (Image>Adjustments>Levels) and using the middle eyedropper tool in the Levels window, click on the gray card in your image and the image color should adjust to the right WB for your lighting (or something pretty darn close). Then click OK and crop your art image to taste.

I hope these techniques are useful to you. If you would like to read a much more involved article, this one I found is quite good.

This is super useful, thank you very much. I have so much trouble getting good results with my camera, that I'm considering going to a professional art scanning-studio. I think your tips will help me - I'll especially try the trick with the gray card.
ReplyDeleteFantastic info.. What a great site to find and thank you for sharing.
ReplyDelete