Everyone knows Eric Carle's work and how he revolutionized children's books with his colorful paper collage technique and unique book designs. First he draws the image, then chooses from his hand painted tissue papers carefully cutting and gluing.
This is a technique that everyone should try but I couldn't see that advantage of all the careful cutting and gluing. Why, says I, could we not just play with it in the computer where we can control every variable.
So first I made a drawing:
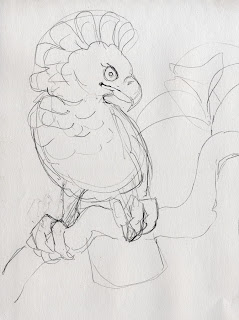
Then I made a bunch of painted papers and had a lot of fun making textures and colors. I didn't have tissue paper so I used tracing paper, acrylic airbrush paints (wonderful liquid colors), a brush and a spray bottle. Here are some samples:
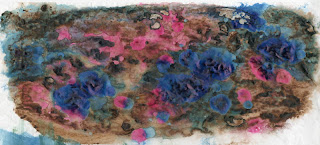
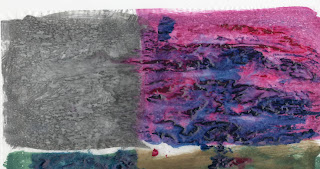
I scanned all this into the computer and then just used the selection tool to draw around areas of my drawing. I transferred the selection to the appropriate paper and used the move tool to drag the selection back to the original drawing file placing it where I wanted.
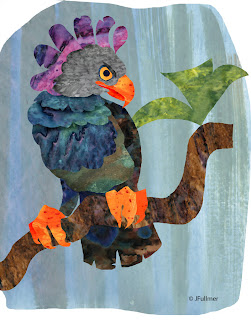
I also used the burn tool strategically to create a sense of separation between the layers in a few spots. One could easily use a little bit of drop shadow to add more of that kind of effect. Give it a try!
Some people wonder what life in a professional art studio is all about... this blog is for the both of you.
Wednesday, November 9, 2011
The Perfect Model
So I was working on an illustration of a witch to go along with a poem, "Listen to the Witch." I had an idea that I wanted to try that would require a rather complicated and ghoulish lighting so I needed a reference. Where could I find a model who would pose exactly the way I wanted and perform just the expression I needed? Oh, and they had to be OK being used to paint an ugly witch.MYSELF! BRILLIANT! I set the lights up high and behind me and put a silver reflector as the "table" so to reflect the haunting light up from below. It didn't end up as strong as I wanted but I was able to punch it in the illustration. I just needed information about where the light would reflect. The image was shot in RAW and so I could tint it how I wanted before exporting it to Photoshop. Now it may look perfect but it took me about 15 shots to get the angle of the face and the mouth. I had wanted to have poofy cheeks but my eyes open in a dreamy ecstasy but anatomically that just doesn't happen. There was more than enough information, however to paint from.
I decided to try it digitally and first sketched out the values and basic color scheme:Afterward I rendered the shapes more and used digital color as well as the liquify filter to make some adjustments to the original drawing. I used the smudge tool to do much of the blending.
Thursday, May 19, 2011
I recently got together with a model friend of mine, Amanda, who has modeled for me in years past but has gone on to fame and glory. I was just checking in to see if she would like to model for a painting with a formal and perhaps a period type outfit. She is not only involved in theatre but is an accomplished costume designer and seamstress. She mentioned that she was currently into Steampunk and had recently completed a new outfit. I could not have been more delighted!
Below are some in progress photos. I am thinking of adding some ghosted gear imagery in the background and perhaps a bird escaping from the cage to reappear on the right side of the painting. I'll play in photoshop first then decide how to continue.
Subscribe to:
Posts (Atom)